Demoing web3.unity with the “Chicken Demo”

Authored by Timothy Hao Chi Ho
Grasp the powers of ChainSafe Gaming's web3.unity SDK with this showcase
This blog post was written by web3.unity SDK dev @Sneakzttv. He's previously released this as a video, so if you prefer watching, check it out here!
Need help getting into the blockchain game development space but have no idea where to start? Never fear, ChainSafe Gaming is here! We have developed a simple but comprehensive demo (we have aptly titled it ‘the Chicken Demo') so you're able to see exactly how our fully open source gaming SDK, web3.unity, functions in a real world environment. The purpose of this blog post is to talk you through what the Chicken Demo is and showcase some of the functions available inside web3.unity. Through this, we hope that you'll be inspired to implement these features to your own Unity game and create exhilarating and unique web3 game mechanics!
You can access our Chicken Demo here and have a look around to get your feet wet.
Secondly, we have the project files available here for WebGL as well as WebWallet users.
These pair nicely with our docs found [here](https://docs.gaming.chainsafe.io/) and our SDK here.
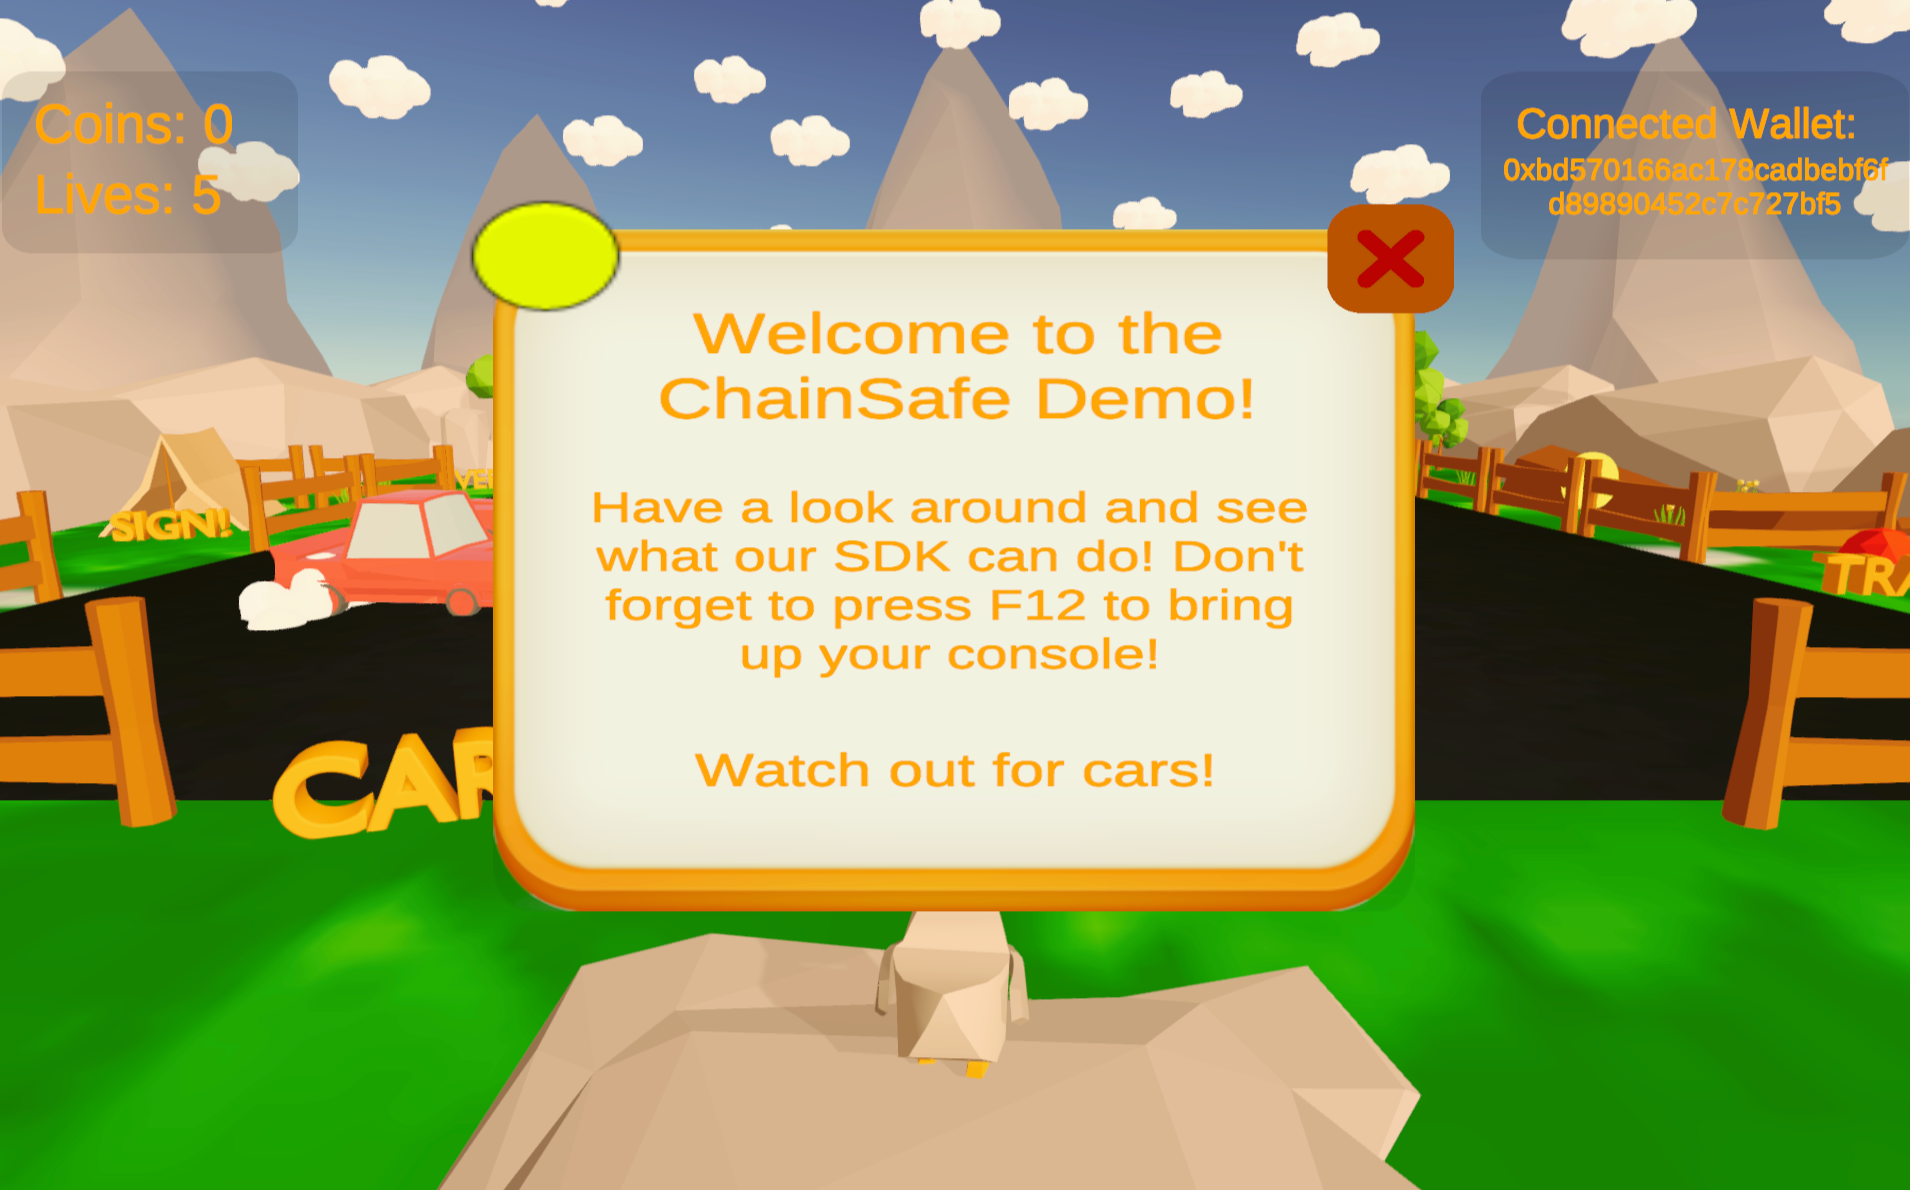
Upon entering the demo, you'll be greeted with an option to sign-in with a web3 wallet (i.e. MetaMask, Web3Auth, WalletConnect). This step is necessary for the game (and the user) to gain access to the blockchain as well as maintaining a connection with MetaMask. This scene can be found in the Web3Unity -> Scenes folder once you have installed the SDK package (found here). There's one for each build, so make sure you've selected the correct one when building.
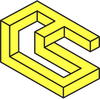
Once you've created a connection to web3, you'll be able to run around and interact with various elements in the game. The demo is setup to interface with the Goerli testnet (use this faucet to obtain goerliETH, or ask someone from ChainSafe :)) - so don't worry, your funds are completely safe. The main goal of the demo here is to teach you how web3.unity-enabled blockchain features might function inside of a Unity game. We recommend opening the browser console up (F12 or Shift + ⌘ + J) - it is the only way to see what is happening behind the scenes, including all of the console logs and network calls from the network tab as they happen in real time. These logs pop up whenever a blockchain call happens to inform you that something is going on.
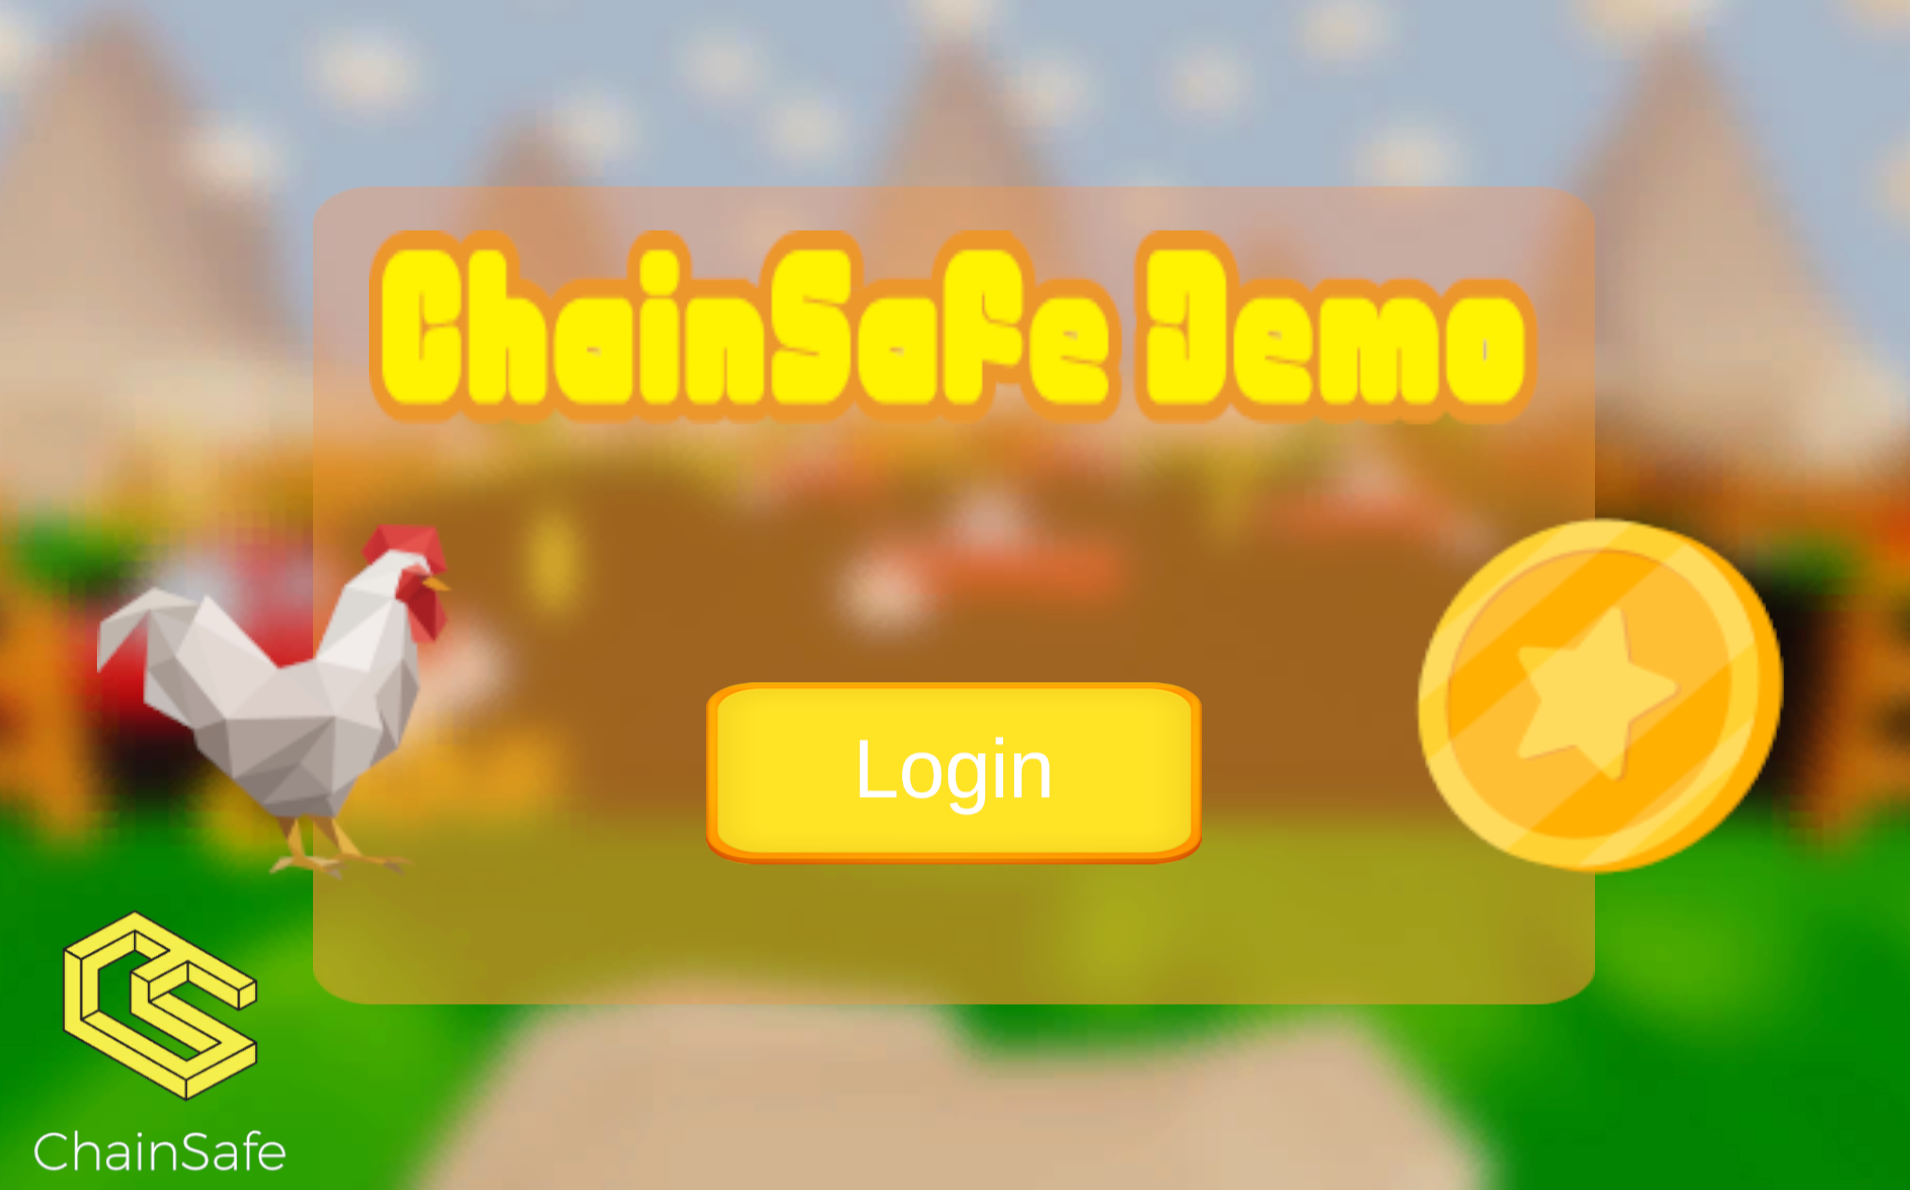
Let's get into the functions available for you to play around with. Firstly, we have the "Sign!" function (i.e. Web3gl.Sign) which you'll find on the left side of the play area. This can be used to gain a signature from a users' MetaMask wallet. This signature can be paired with a message to make it unique. When you change the message within the signature, the signature will also change. This is perfect for doing things like creating a secure signing service for a claim or for authentication purposes. A good example of this would be storing this signature in a database and then checking that signature each time a user tries to process a claim for game earnings. For example, a user turning their game score into actual tokens. This way, you can be sure that the user signing for the claim request is actually the user and not a malicious 3rd party, i.e someone (who shouldn't be there) trying to impersonate the user to steal funds.
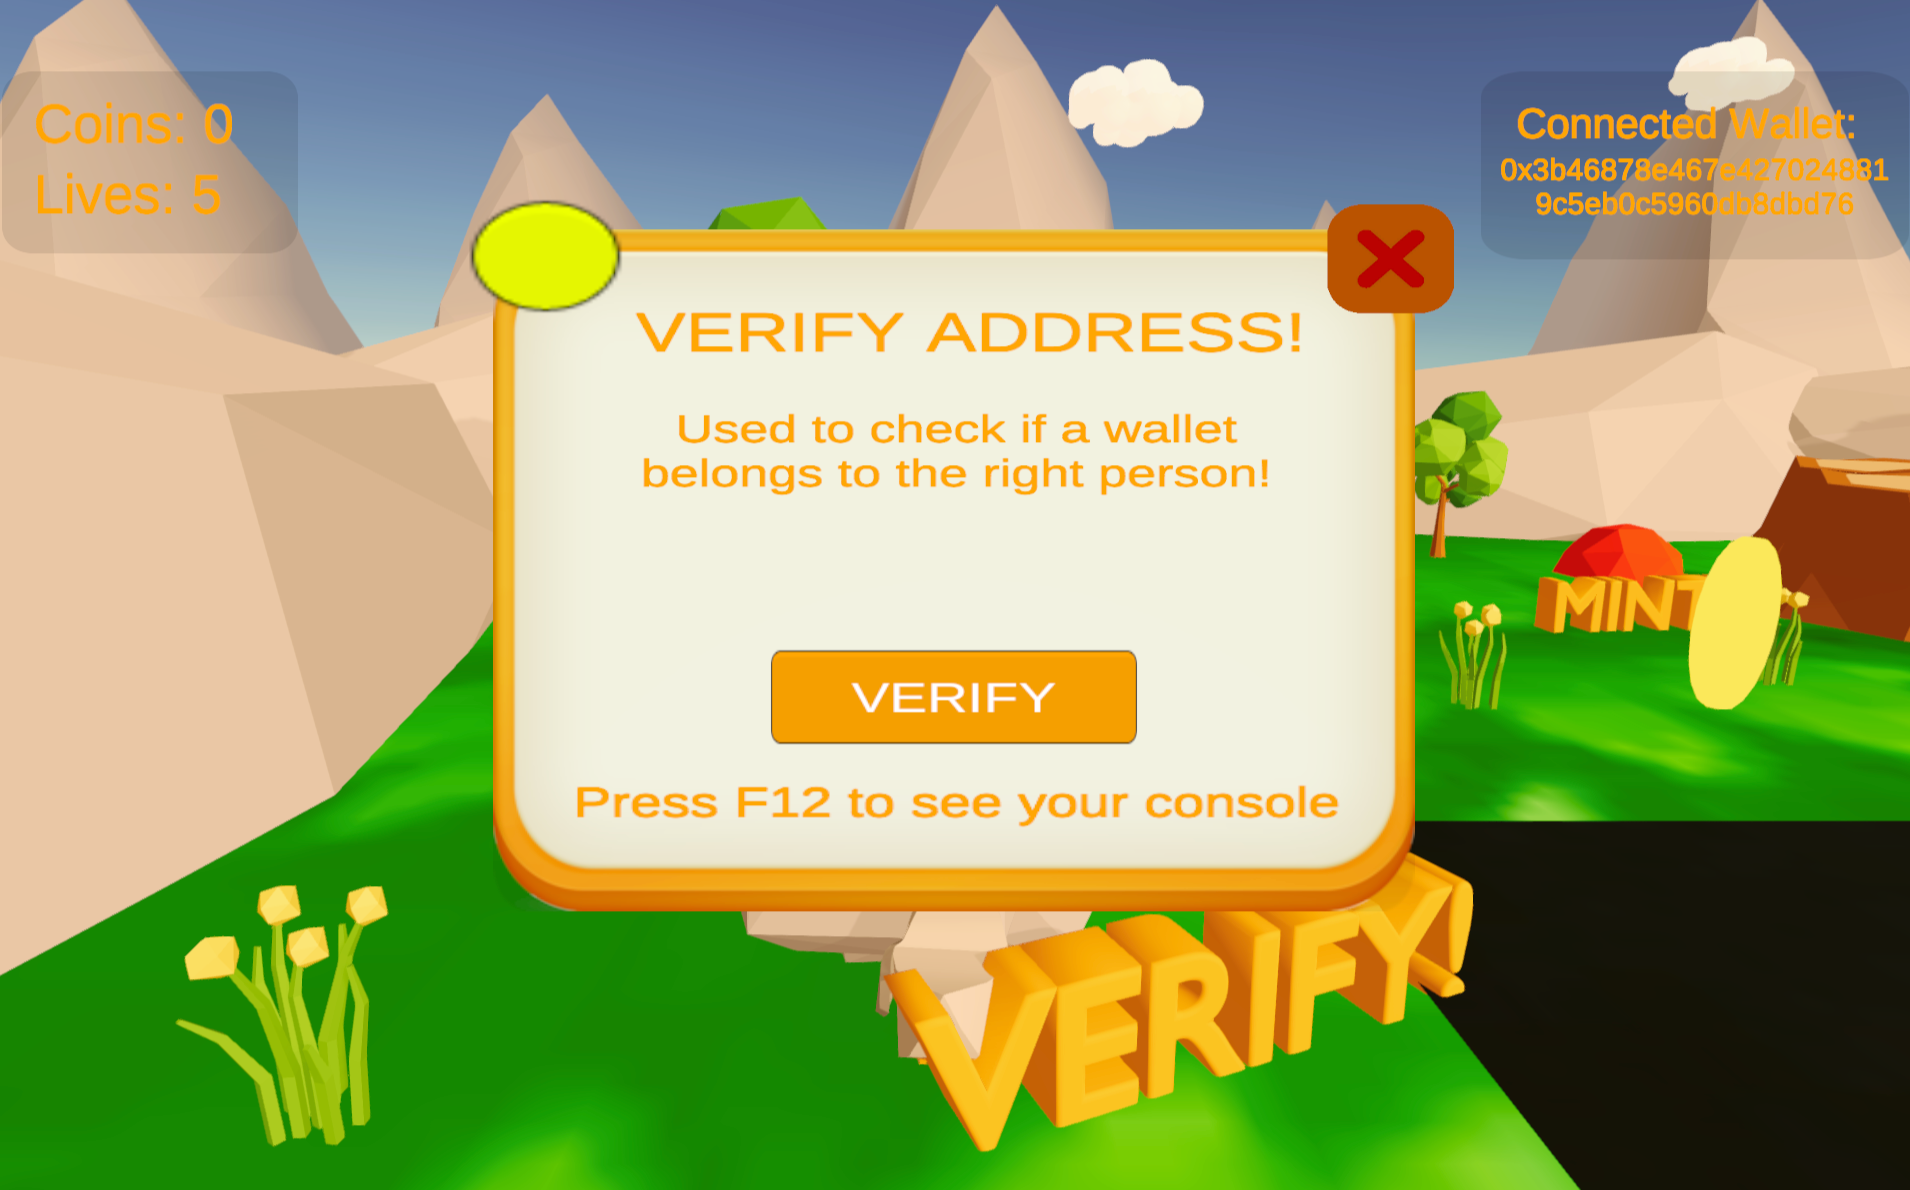
Our next function would be the "Verify!" call (EVM.verify) - this is one of our favourite functions. It works similar to the signature but with some slight variations. With this prefab, you can verify the address that the signature is coming from. Although you can create a message to make it unique, it serves its greatest purpose by being able to tell you who exactly is signing for the message. When you press the sign button here, you'll see the wallet's matching address being called back after its signature is verified through standard ECDSA verification. This verification also matches the standards set in Solidity so you can run them in the game as well as contract-side if needed.
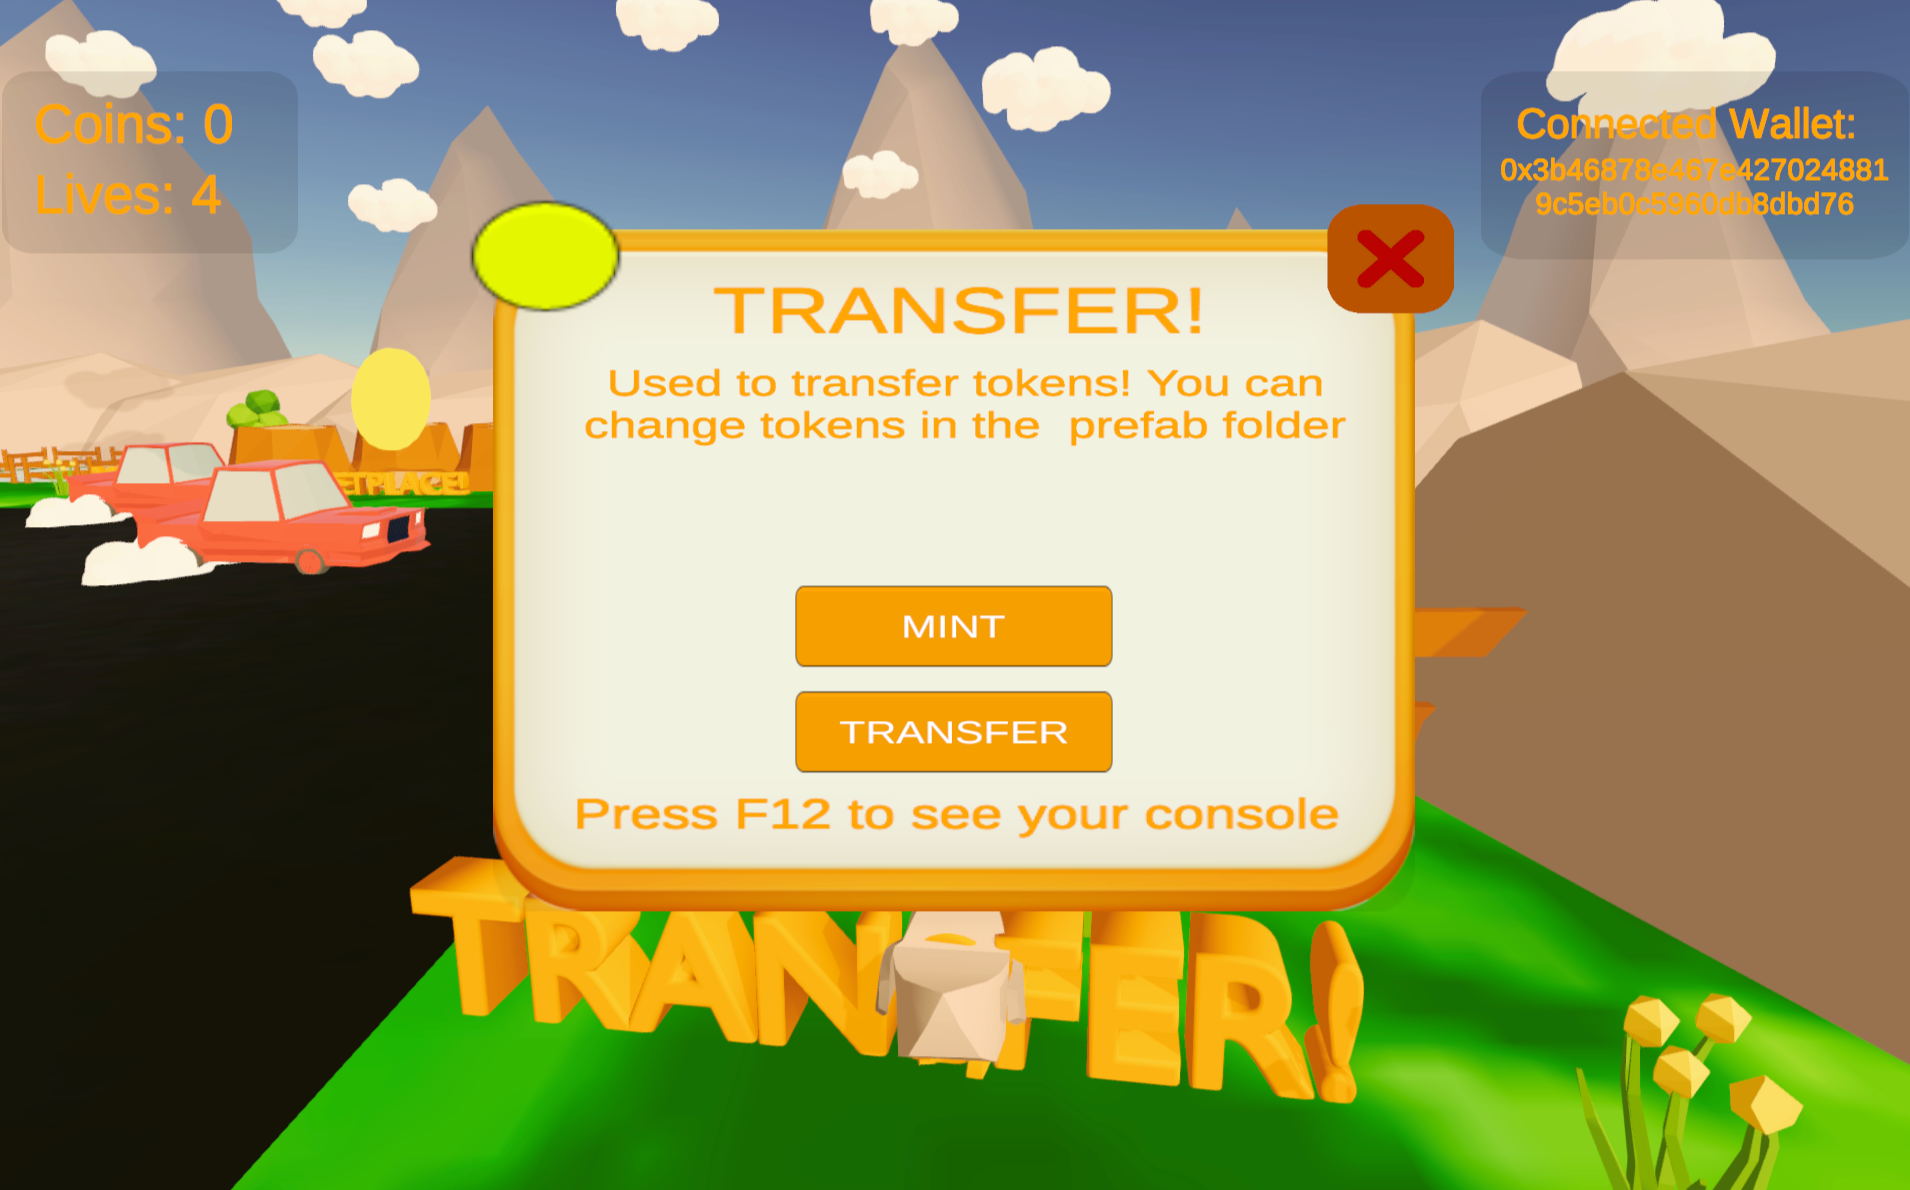
On the right side of the game area, you'll see a mint and transfer function called "Transfer!" (Web3gl.SendContract) for ERC-20 tokens. If you take a look at the project files, you can see that we've included a small custom ERC-20 Solidity contract. This contract also includes a mint and a transfer function. If you press the mint button, you'll be given a transaction hash that can be placed into Goerli's block explorer, confirming that a token has been sent to your address. After this, you can press the transfer button and it will then transfer that token to the contract. Pretty cool hey!
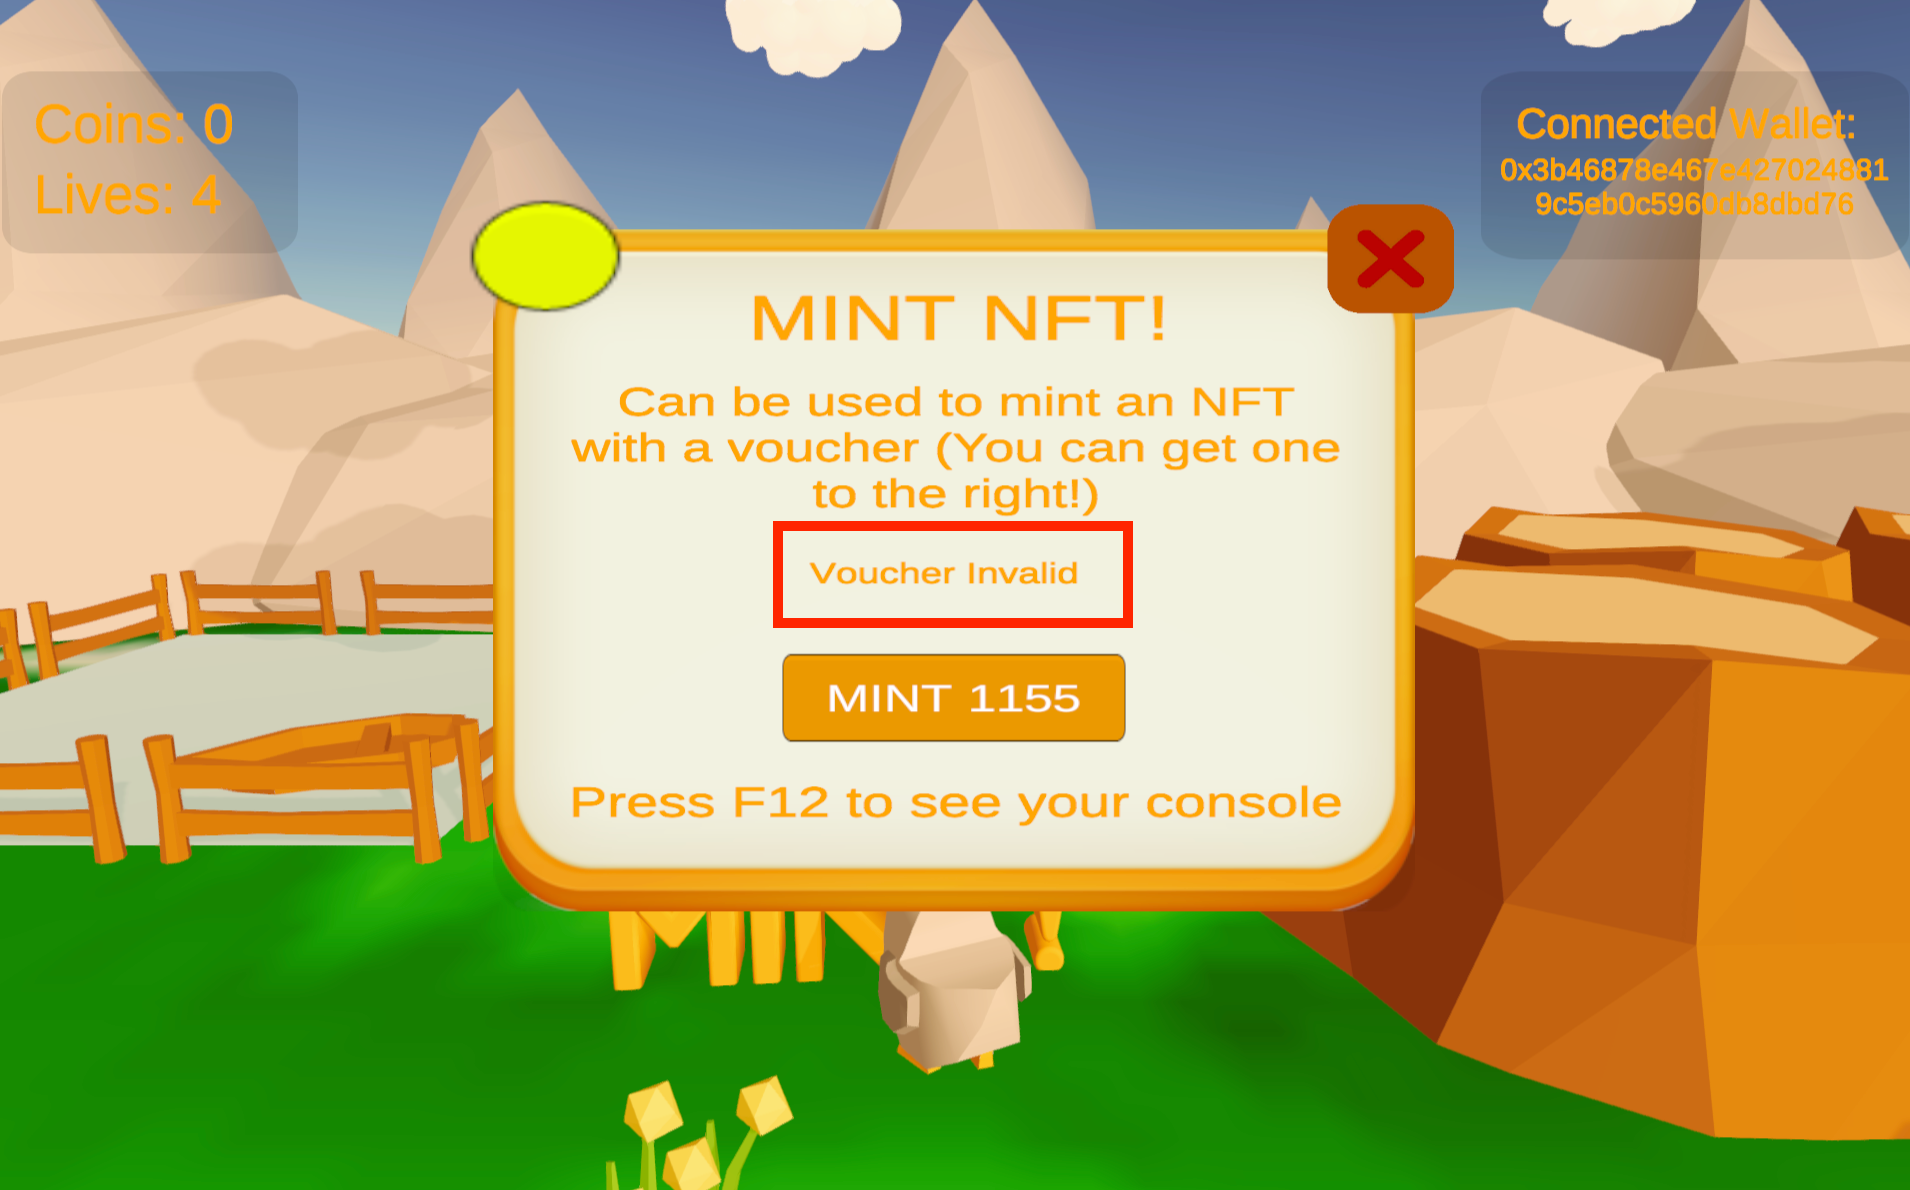
In the top right of the play area, you'll be presented with a "Voucher!" function (GetVoucherWebGL721 prefab). This voucher function can be used to grant a voucher to players for once-off use. This can be used to do things like enable a claim or other certain actions. In our demo, we'll show you how a voucher can be used to allow an NFT to be minted. Without this voucher, you will be denied access to this function.

Let's try this out! If you move to the left to the "Mint!" area without a voucher, you'll see that the minting function will be disabled (it will say ‘voucher invalid' both in-game and in the developer console). If we interact with the "Voucher" element and obtain a voucher, when you try to perform the "Mint!" function again, you'll see that everything goes through smoothly and you will have minted an NFT to your account. Vouchers are a great way to implement anti-cheat and prevent replays of a transaction to double-mint NFTs. You can imagine handing out vouchers to mint NFTs awarded for achievements, such as hitting a certain stat for a playable character, or completing a criteria and unlocking a badge.
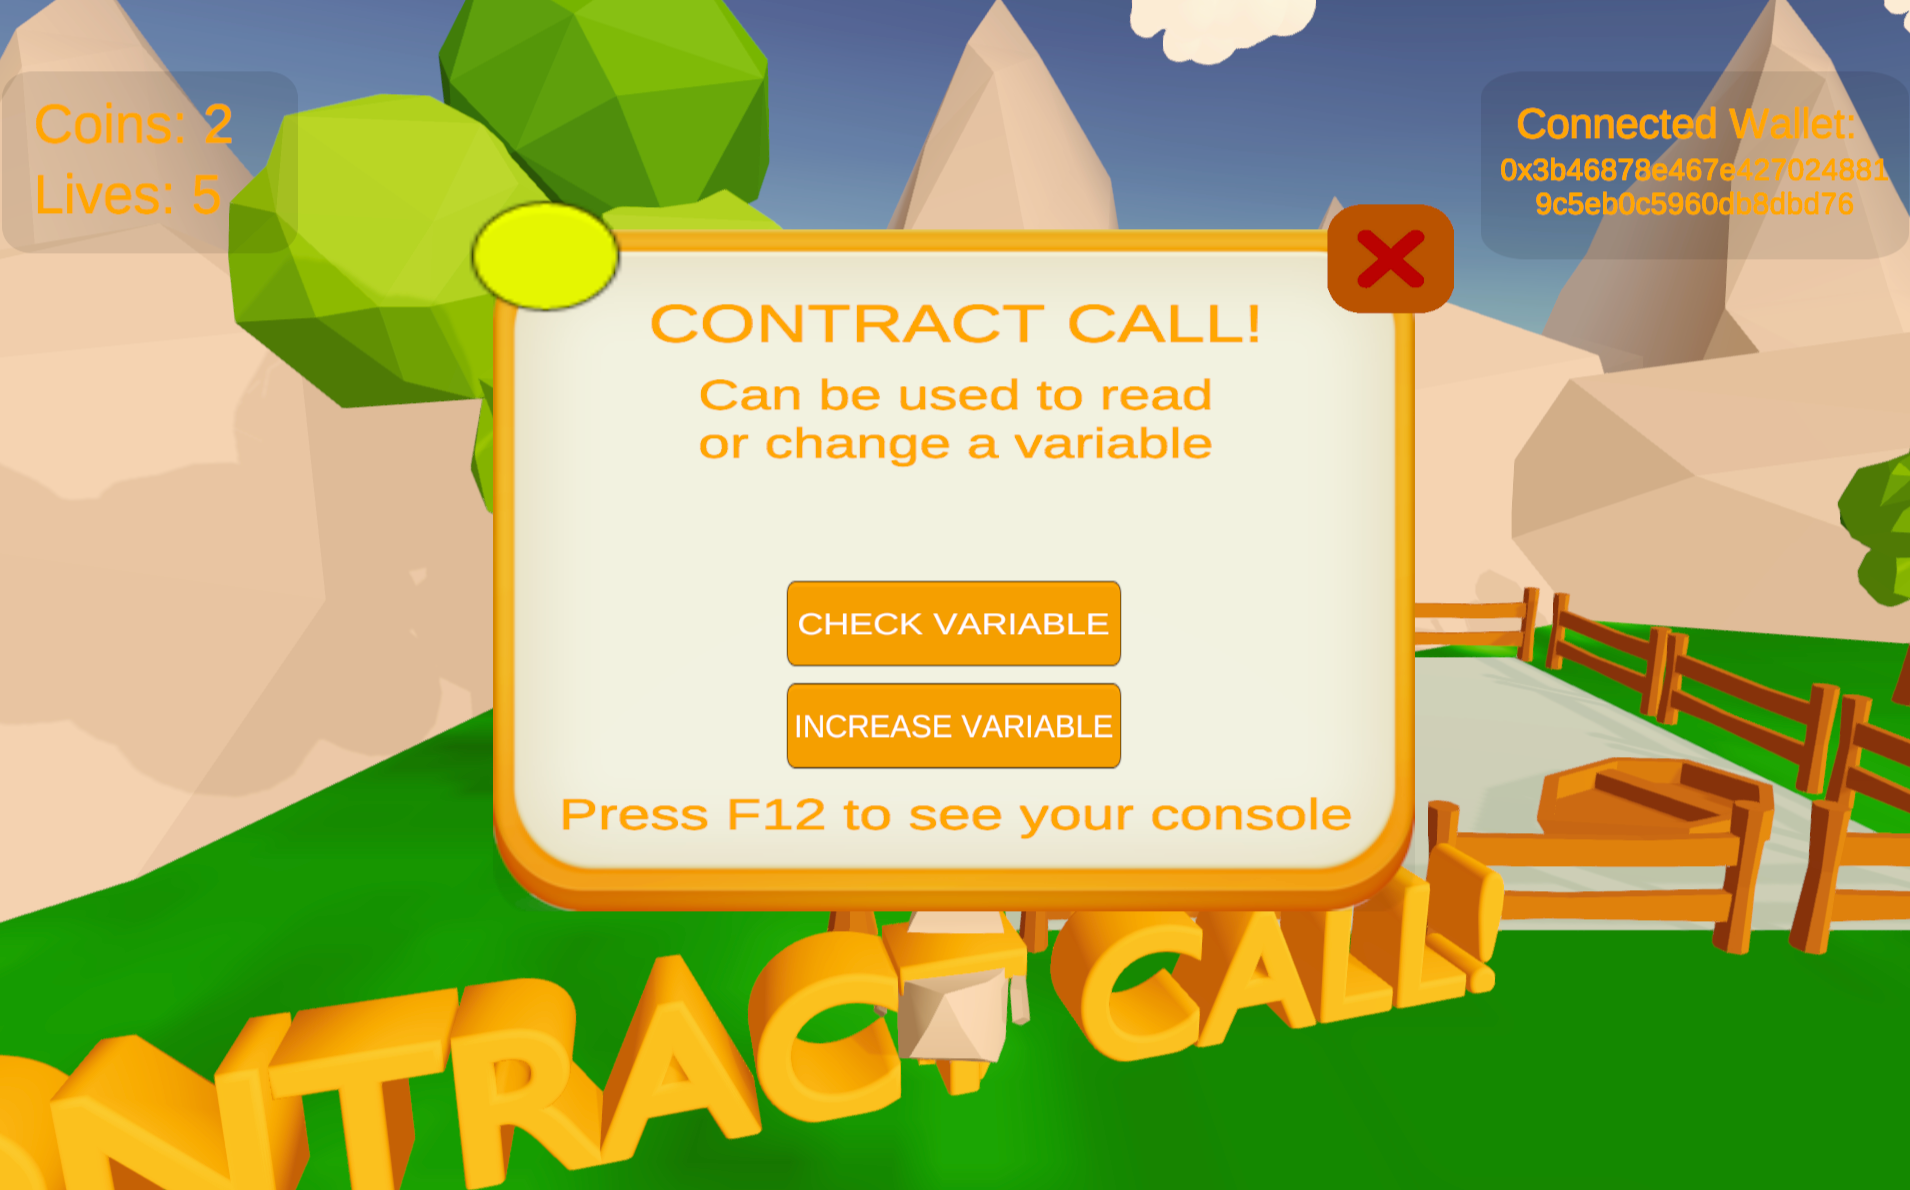
We also have a simple "Contract call!" for players to interact with. This function provides two buttons, one to "check variable" and another to "increase variable". The former sends out a super simple call to query and retrieve n balance from the blockchain before printing out the results in the developer console. The latter calls the contract to increase the count by 1. After increasing by 1, when you check the variable again, the developer console will print out the results as n+1.
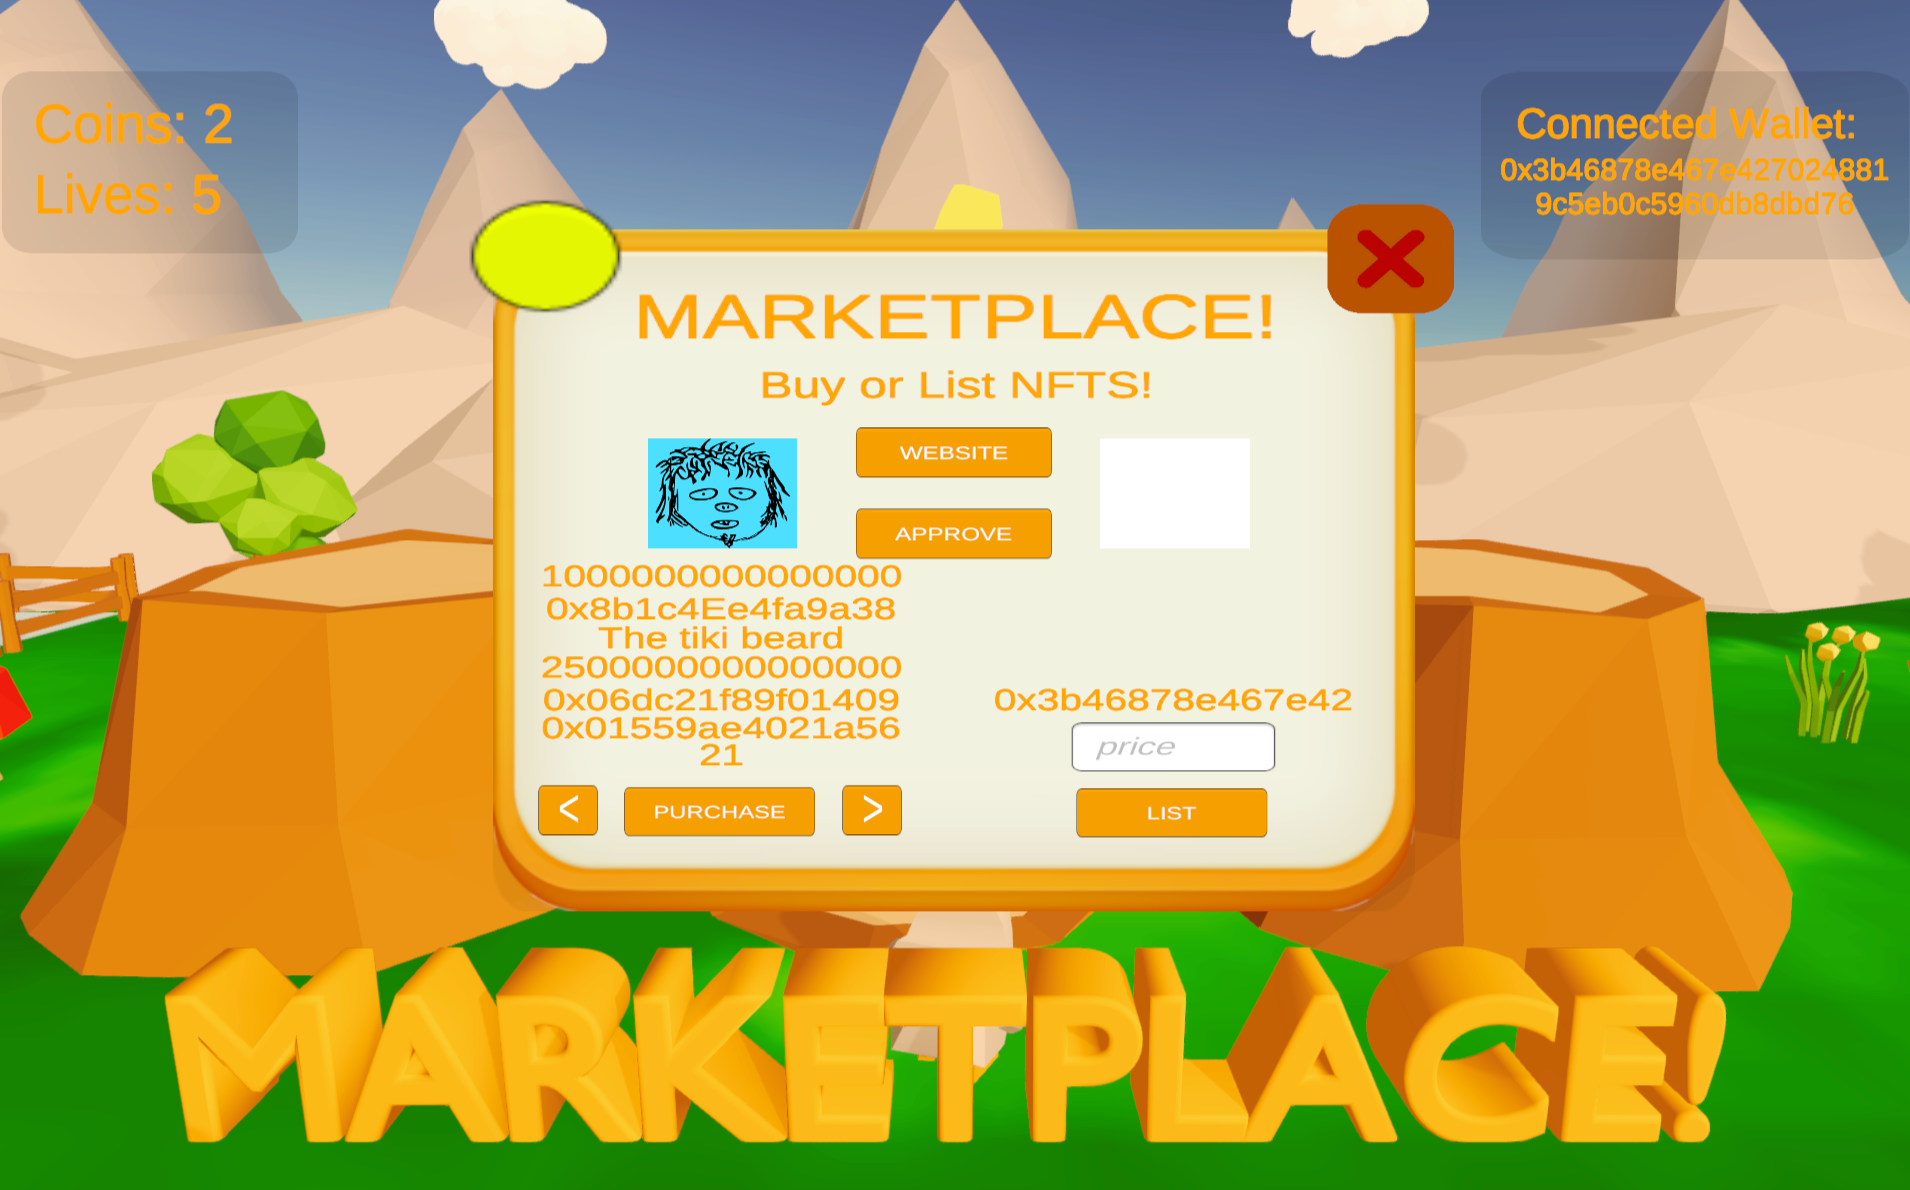
Lastly, we have our "Marketplace!" prefab (BuyItemWebGLPrefab) which can be found at the top of the play area in the middle. This prefab lets you scroll through the live marketplace NFTs that are minted either within the game or on our WebUI here. On top of this, you'll also be able to buy these NFTs as well as list the one you just minted using the appropriate buttons you see in front of you. Check out this tweet thread to see how our mini hackathon winners successfully implemented our marketplace prefab in their games.
Our dev Sneakz has previously recorded and released a video walking through this same Chicken Demo. You can check it below 👇
We hope you enjoy the web3.unity SDK, our demo, and all the hard work we put into putting power into our developer's hands. If you have any questions or if you get stuck, please head on over to our Discord. We'll be happy to answer any questions and help you understand how to create your next blockchain gaming project!
Now it's your turn.
Show us what sort of games you can build! #PoweredByweb3unity
Welcome to the new era of #web3 gaming
Dive into the code via Github and the docs and download the latest SDK release, which includes the new minting, voucher, and in-game marketplace prefabs.
We LOVE seeing our talented gaming community's work. If you or your team have integrated any of the features from the web3.unity suite, don't hesitate to share them on social media and tag us (@ChainSafeGaming or @ChainSafeth on Twitter, ChainSafe Systems on LinkedIn, etc.) Use the hashtags #web3unity, #ChainSafeGaming, and we will gladly reshare to show our support :)
If you have any questions about the latest release, join the burgeoning gaming community over in the #🕹 gaming-general channel in our Discord. And don't forget to check out our Gaming SDK YouTube tutorials!
About ChainSafe
ChainSafe is a leading blockchain research and development firm specializing in infrastructure solutions for web3. Alongside its contributions to major ecosystems such as Ethereum, Polkadot, Filecoin, Mina, and more, ChainSafe creates solutions for developers and teams across the web3 space utilizing our expertise in gaming, bridging, NFTs, and decentralized storage. As part of its mission to build innovative products for users and improved tooling for developers, ChainSafe embodies an open source and community-oriented ethos to advance the future of the internet. To learn more, click here.